Seeing your vibrant, fragrant mint plant start to turn brown can be a real heartbreaker. It's like watching a friend lose their spark! But don't despair just yet. Browning leaves on mint plants are a common problem, and often, the cause is easily identifiable and correctable. Let's dive into the reasonswhy your mint plant might be turning brownand how you can bring it back to its lush, green glory. Why is My Mint Plant Turning Brown? Common Causes The mystery of the browning mint can often be solved by playing detective in your garden. There are several common culprits that contribute to this unfortunate situation. Understanding these potential causes is the first step towards restoring your mint plant's health. Think of it as a process of elimination - checking off the possible suspects one by one. Watering Issues: Too Much or Too Little Watering problems are probably the most frequent cause of brown leaves on mint. Mint plants are fairly ...
Imagine your garden buzzing with the vibrant life of hummingbirds, drawn in by the sweet nectar and captivating beauty of Hummingbird Mint. This delightful plant, also known as Agastache, is not only a feast for the eyes and a haven for pollinators but also surprisingly easy to grow. Let's dive into how to plant Hummingbird Mint and transform your garden into a hummingbird paradise!
Understanding Hummingbird Mint: A Gardener's Delight
Before we get our hands dirty, let's understand a bit more about this wonderful plant. Hummingbird Mint is a perennial, meaning it comes back year after year, adding enduring beauty to your landscape. Native to North America, it's well-adapted to a variety of climates and offers a long bloom time, often from summer into fall. The flowers come in a range of colors, from fiery reds and oranges to soft pinks and purples, each offering a unique charm to your garden. Different varieties of Hummingbird Mint offer different flavors. Some have a minty aroma, while others have hints of licorice or even citrus. Not only do hummingbirds love it, but bees, butterflies, and other beneficial insects are also drawn to its nectar-rich blooms. This makes it a fantastic addition to any pollinator garden.
Choosing the Right Hummingbird Mint Variety
With so many varieties available, selecting the right one for your garden can be exciting! Consider these factors when making your choice:
Climate: Some varieties are more cold-hardy than others. Check the plant's hardiness zone to ensure it's suitable for your region. Most Hummingbird Mint varieties are hardy in zones 5-9. Size: Hummingbird Mint can range in size from compact varieties around 1-2 feet tall to larger species reaching 3-4 feet. Choose a variety that fits the space you have available. Color: Select a color that complements your existing garden palette and personal preferences. Popular Varieties:
Agastache rupestris(Sunset Hyssop): Known for its orange and pink blooms and licorice scent.
Agastache cana(Texas Hummingbird Mint): Features vibrant red flowers and a minty fragrance.
Agastache foeniculum(Anise Hyssop): Offers purple flowers and a distinctive anise aroma.
When to Plant Hummingbird Mint
The best time to plant Hummingbird Mint is in the spring or early fall. This gives the plant ample time to establish its roots before the extreme temperatures of summer or winter. If planting in the spring, wait until after the last frost. If planting in the fall, ensure the plant has at least six weeks to settle in before the first frost. These are general guidelines, and your specific climate may influence the best planting time. Consult your local extension office for advice tailored to your region.
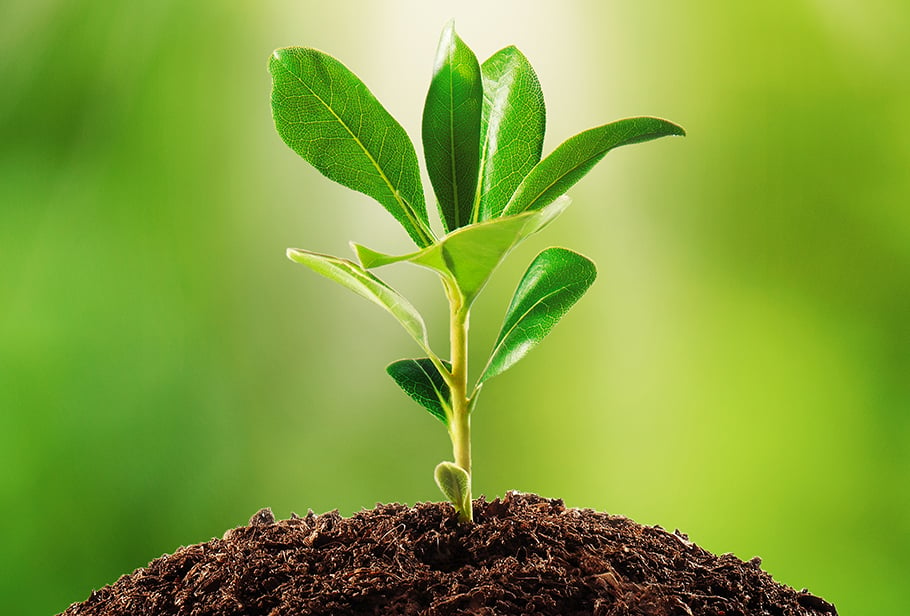
Step-by-Step Guide: How to Plant Hummingbird Mint
Now comes the exciting part - planting your Hummingbird Mint! Here's a step-by-step guide to ensure success:
1. Selecting the Perfect Location
Hummingbird Mint thrives in a sunny location with well-drained soil. Aim for at least six hours of direct sunlight per day. Avoid areas with standing water or heavy clay soil, as this can lead to root rot. If your soil is less than ideal, you can amend it with compost or other organic matter to improve drainage and fertility.
2. Preparing the Soil
Proper soil preparation is crucial for healthy plant growth. Follow these steps:
Clear the area: Remove any weeds, grass, or debris from the planting area. Loosen the soil: Use a garden fork or tiller to loosen the soil to a depth of at least 12 inches. Amend the soil: Incorporate compost or other organic matter into the soil to improve drainage and fertility. A good ratio is about one-third compost to two-thirds native soil. Test the soil p H (Optional): Hummingbird Mint prefers a slightly acidic to neutral soil p H (around 6.0-7.0). You can test your soil using a home test kit or send a sample to your local extension office for analysis. Amend the soil accordingly based on the results.
3. Planting Your Hummingbird Mint
Now that the soil is ready, let's plant your Hummingbird Mint:
Dig a hole: Dig a hole that is slightly larger than the root ball of your plant. Remove the plant from its container: Gently remove the plant from its container, being careful not to damage the roots. Loosen any circling roots at the bottom of the root ball. Place the plant in the hole: Position the plant in the hole so that the top of the root ball is level with the surrounding soil. Backfill the hole: Fill the hole with soil, gently firming it around the plant. Water thoroughly: Water the plant thoroughly after planting to help settle the soil and establish good root contact. Mulch (Optional): Apply a layer of mulch around the plant to help retain moisture, suppress weeds, and regulate soil temperature. Use organic mulches such as shredded bark or wood chips.
4. Spacing Considerations
Proper spacing is essential for healthy plant growth and air circulation. Generally, space Hummingbird Mint plants about 18-24 inches apart, depending on the specific variety. Check the plant tag or seed packet for recommended spacing guidelines. Overcrowding can lead to poor air circulation, increasing the risk of fungal diseases.
Caring for Your Hummingbird Mint
Once your Hummingbird Mint is planted, proper care will ensure it thrives and attracts hummingbirds for years to come.
Watering
Water deeply but infrequently, allowing the soil to dry out slightly between waterings. Avoid overwatering, as this can lead to root rot. During hot, dry periods, you may need to water more frequently. A good rule of thumb is to water when the top inch of soil feels dry to the touch.
Fertilizing
Hummingbird Mint generally doesn't require heavy fertilization. However, a light feeding in the spring with a balanced, slow-release fertilizer can promote healthy growth and abundant blooms. Avoid over-fertilizing, as this can lead to leggy growth and fewer flowers. A fertilizer with a lower nitrogen number is ideal for flowering plants.
Pruning
Pruning is an important part of Hummingbird Mint care. Here's what you need to know:
Deadheading: Regularly remove spent flowers to encourage continued blooming. This prevents the plant from putting energy into seed production and redirects it towards producing more flowers. Cutting Back: In late fall or early spring, cut the plant back to about 6-12 inches above the ground. This helps to rejuvenate the plant and promote bushier growth. Shaping:You can lightly prune the plant throughout the growing season to maintain its shape and size.
Pest and Disease Control
Hummingbird Mint is generally pest and disease-resistant. However, keep an eye out for common garden pests such as aphids or spider mites. Treat infestations promptly with insecticidal soap or neem oil. Good air circulation can help to prevent fungal diseases such as powdery mildew. If you notice any signs of disease, remove affected foliage immediately and treat the plant with a fungicide if necessary.
Overwintering
In colder climates, Hummingbird Mint may benefit from winter protection. Apply a thick layer of mulch around the base of the plant to insulate the roots and protect them from freezing temperatures. You can also cover the plant with burlap or a frost blanket during periods of extreme cold. In milder climates, winter protection may not be necessary.
Troubleshooting Common Issues
Even with the best care, you may encounter some challenges when growing Hummingbird Mint. Here are some common issues and how to address them:
Leggy growth: This is often caused by insufficient sunlight or over-fertilization. Ensure the plant receives at least six hours of direct sunlight per day and avoid over-fertilizing. Prune the plant back to encourage bushier growth. Lack of blooms: This can be caused by a variety of factors, including insufficient sunlight, poor soil drainage, or nutrient deficiencies. Ensure the plant is growing in a sunny location with well-drained soil. Amend the soil with compost and fertilize lightly in the spring. Deadhead spent flowers regularly to encourage continued blooming. Root rot: This is caused by overwatering or poor soil drainage. Ensure the plant is growing in well-drained soil and avoid overwatering. Powdery mildew: This is a fungal disease that appears as a white, powdery coating on the leaves. Improve air circulation around the plant by thinning out the foliage. Treat the plant with a fungicide if necessary.
Enjoying Your Hummingbird Mint Garden
Once your Hummingbird Mint is established, sit back and enjoy the show! Watch as hummingbirds, bees, and butterflies flock to your garden, drawn in by the vibrant colors and sweet nectar. You can also cut the flowers for beautiful bouquets or use the leaves to flavor teas and other culinary creations. Planting Hummingbird Mint is a rewarding experience that brings beauty, life, and joy to your garden. You can also use a comfortable and convenient gardening tool. Consider upgrading your gardening experience with a versatilegarden kneeler and seat equipped with a soft kneeling pad and tool pouches; it's like having a portable workstation that saves your knees and back while you tend to your plants. Find a reliable option such as aKVR Upgraded Garden Kneeler and Seat with Thicken & Widen Soft Kneeling Pad to make gardening even more enjoyable! You can find it here: https://amzn.to/4mhl Mx I.
By following these tips, you can successfully plant and care for Hummingbird Mint and create a thriving garden that attracts pollinators and brings beauty to your landscape for years to come. Happy gardening!