Seeing your vibrant, fragrant mint plant start to turn brown can be a real heartbreaker. It's like watching a friend lose their spark! But don't despair just yet. Browning leaves on mint plants are a common problem, and often, the cause is easily identifiable and correctable. Let's dive into the reasonswhy your mint plant might be turning brownand how you can bring it back to its lush, green glory. Why is My Mint Plant Turning Brown? Common Causes The mystery of the browning mint can often be solved by playing detective in your garden. There are several common culprits that contribute to this unfortunate situation. Understanding these potential causes is the first step towards restoring your mint plant's health. Think of it as a process of elimination - checking off the possible suspects one by one. Watering Issues: Too Much or Too Little Watering problems are probably the most frequent cause of brown leaves on mint. Mint plants are fairly ...
Mint, with its refreshing aroma and invigorating flavor, is a staple in gardens and kitchens worldwide. But this vigorous herb can quickly take over if left unchecked. The secret to a thriving, manageable mint plant lies in knowing how to properly cut it back. Learning how to prune mint plants is a skill that unlocks a world of fresh flavors and a beautifully maintained garden. This guide will teach you everything you need to know about cutting mint, from basic techniques to advanced tips that will keep your mint flourishing for years to come.
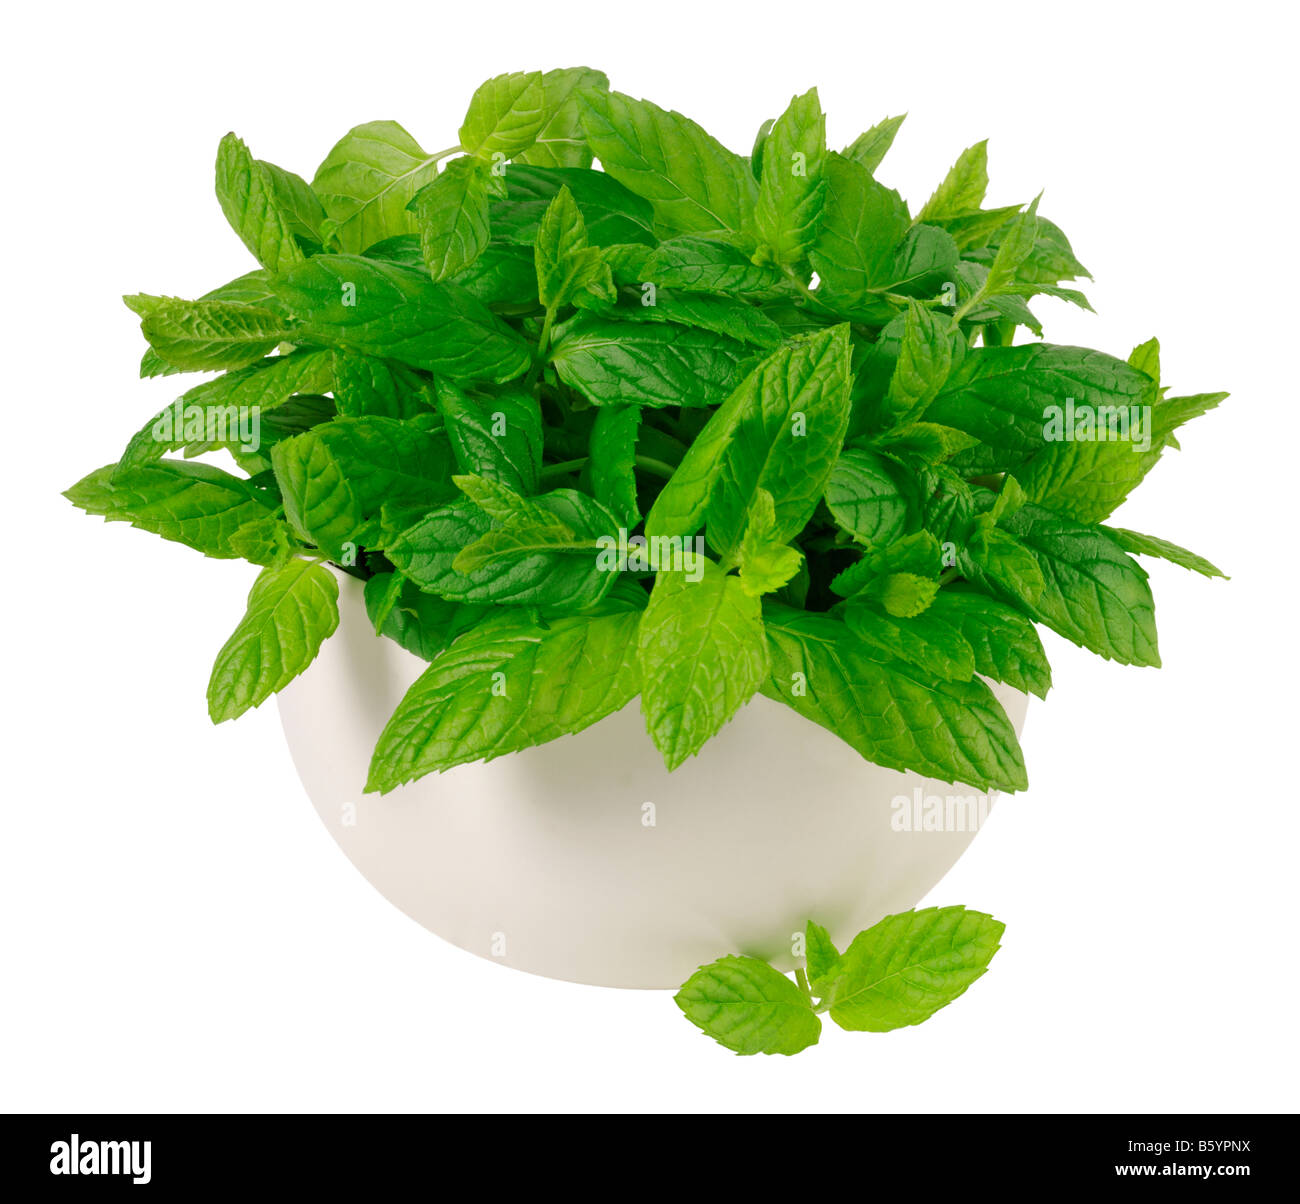
Understanding Mint and Why Cutting It Is Important
Before we dive into the specifics ofhow to cut a mint plant, let's understand why this process is so crucial. Mint is a fast-growing herb, often considered invasive. This means it spreads rapidly through underground runners (rhizomes) and can quickly dominate garden beds, choking out other plants. Cutting your mint regularly not only keeps it contained but also encourages bushier growth and prevents the plant from becoming leggy and weak. Here are some key reasons why knowinghow to prune your mintis essential:
- Controlling Spread: Prevents mint from becoming invasive and overtaking your garden.
- Encouraging Bushier Growth: Promotes more leaves, leading to a fuller and more productive plant.
- Improving Air Circulation: Reduces the risk of fungal diseases by opening up the plant's canopy.
- Prolonging Plant Life: Regular cutting encourages new growth and prevents the plant from becoming woody.
- Harvesting Fresh Mint: Provides a continuous supply of fresh mint for culinary and medicinal uses.
Essentially, learning how to cut back mint is an investment in a healthier, more productive, and more manageable plant.
Essential Tools for Cutting Mint Plants
Having the right tools makes the job of cutting mint plants easier and more efficient. While you might be tempted to just rip off stems, using proper tools ensures a clean cut, which minimizes the risk of disease and encourages healthy regrowth. Here's a list of essential tools:
- Sharp Pruning Shears or Scissors: These are essential for making clean cuts. Dull blades can crush stems, making them vulnerable to infection. Look for shears that are comfortable to hold and easy to maneuver.
- Gloves (Optional): Mint can sometimes irritate the skin, especially after prolonged contact. Gloves will protect your hands.
- Container for Harvested Mint: A basket or bowl to collect the mint you've cut.
- Gardening Trowel or Shovel (for containing mint): This is important if you are trying to stop the spreading of the mint plants.
Remember to clean your tools before and after each use to prevent the spread of diseases. A simple wipe down with rubbing alcohol or a diluted bleach solution is sufficient.
Step-by-Step Guide: How to Cut Mint Plants Properly
Now, let's get to the heart of the matter: how to properly cut a mint plant. Follow these steps for optimal results:
Step 1: Timing is Key - When to Cut Mint
The best time to cut mint is in the morning, after the dew has dried, but before the sun is at its strongest. This allows the cut stems to heal quickly and minimizes water loss. You can cut mint throughout the growing season, from spring to fall. A good rule of thumb is to cut back your mint whenever it starts to look leggy or overgrown, or when you need a fresh supply of leaves.
Step 2: Identifying Where to Cut
Look for stems that are long, leggy, or flowering. Flowering stems tend to produce fewer leaves and can reduce the overall flavor of the mint. You'll also want to remove any dead or damaged leaves or stems. When deciding where to cut, aim to cut just above a leaf node (the point where leaves emerge from the stem). This will encourage new growth from that node.
Step 3: Cutting Technique
Using your sharp pruning shears or scissors, make a clean cut at a 45-degree angle just above the leaf node. This angle helps water run off the cut surface, reducing the risk of fungal diseases. Avoid crushing the stem, as this can damage the plant and make it more susceptible to infection. A clean, precise cut is always best.
Step 4: How Much to Cut Back Your Mint
A general rule of thumb is to cut back your mint by about one-third to one-half of its total height. This encourages bushier growth and prevents the plant from becoming leggy. You can be more aggressive with your cutting if you need a large harvest or if the plant is severely overgrown. Remember, mint is resilient and will bounce back quickly. Don't be afraid to cut it back hard if necessary.
Step 5: What to Do With Your Harvested Mint
Once you've cut your mint, you can use it fresh in teas, cocktails, salads, and other culinary creations. You can also dry or freeze the mint for later use. To dry mint, hang the stems upside down in a cool, dry, and well-ventilated place. To freeze mint, chop the leaves and freeze them in ice cube trays filled with water or oil.
Taking care of your garden can sometimes be a literal pain in the back and knees. For a more comfortable gardening experience, you might consider a tool like theKVR Upgraded Garden Kneeler and Seat with Thicken & Widen Soft Kneeling Pad. This heavy-duty foldable gardener stool, complete with two tool pouches, can make those long hours tending to your plants much more enjoyable. In essence, this KVR Gardening Kneeler and Seat Combocould be the perfect gardening gift for yourself or the green-thumbed individuals in your life! You can find it here:https://amzn.to/4mhl Mx I
Advanced Tips for Cutting Mint for Optimal Growth
Want to take your mint-cutting skills to the next level? Here are some advanced tips to keep in mind:
- Pinch Off Flower Buds: As mentioned earlier, flowering can reduce the flavor of mint. Pinching off flower buds as soon as you see them will encourage the plant to focus its energy on producing leaves.
- Succession Planting: Plant new mint plants every few weeks to ensure a continuous supply of fresh mint throughout the growing season.
- Root Pruning: In addition to cutting back the stems, you can also prune the roots to control the spread of mint. Dig up the plant in the spring or fall and trim any roots that are growing outside the desired area.
- Observe Your Plant: Pay attention to how your mint responds to your cutting. If it's not growing as vigorously as you'd like, try cutting it back more aggressively. If it's becoming too dense, try thinning it out by removing some of the stems completely.
By following these advanced tips, you can ensure that your mint plant remains healthy, productive, and manageable for years to come.
Troubleshooting Common Mint-Cutting Problems
Even with the best techniques, you might encounter some problems when cutting your mint. Here are some common issues and how to address them:
- Plant Not Regrowing: If your mint isn't regrowing after cutting, it could be due to several factors, including poor soil, insufficient sunlight, or overwatering. Make sure your mint is planted in well-draining soil and receives at least six hours of sunlight per day. Avoid overwatering, as this can lead to root rot.
- Yellowing Leaves: Yellowing leaves can be a sign of nutrient deficiency or overwatering. If the soil is consistently wet, reduce your watering frequency. If the soil is dry, try fertilizing your mint with a balanced fertilizer.
- Fungal Diseases: Mint is susceptible to fungal diseases, such as powdery mildew and mint rust. These diseases can be identified by white or orange spots on the leaves. To prevent fungal diseases, ensure good air circulation around the plant and avoid overhead watering. If you see signs of disease, remove the affected leaves and stems immediately. You can also treat the plant with a fungicide.
- Pest Infestations: Mint can be attacked by pests such as aphids and spider mites. These pests can suck the sap from the leaves, causing them to become discolored and distorted. To control pests, try spraying the plant with insecticidal soap or neem oil.
By addressing these common problems promptly, you can keep your mint plant healthy and productive.
Conclusion: Mastering the Art of Cutting Mint
Learninghow to cut a mint plantis a simple yet powerful skill that can transform your gardening experience. By following the steps outlined in this guide, you can keep your mint plant healthy, productive, and manageable, providing you with a continuous supply of fresh, flavorful leaves for all your culinary and medicinal needs. So, grab your pruning shears and get cutting! Your mint plant – and your taste buds – will thank you.