Seeing your vibrant, fragrant mint plant start to turn brown can be a real heartbreaker. It's like watching a friend lose their spark! But don't despair just yet. Browning leaves on mint plants are a common problem, and often, the cause is easily identifiable and correctable. Let's dive into the reasonswhy your mint plant might be turning brownand how you can bring it back to its lush, green glory. Why is My Mint Plant Turning Brown? Common Causes The mystery of the browning mint can often be solved by playing detective in your garden. There are several common culprits that contribute to this unfortunate situation. Understanding these potential causes is the first step towards restoring your mint plant's health. Think of it as a process of elimination - checking off the possible suspects one by one. Watering Issues: Too Much or Too Little Watering problems are probably the most frequent cause of brown leaves on mint. Mint plants are fairly ...
Ah, mint. That fragrant, vibrant herb that adds a refreshing zing to everything from mojitos to morning tea. But like all good things, mint can sometimes get a little…enthusiastic. If your mint plant is starting to look more like a sprawling jungle than a manageable herb, it's time to take action! Trimming a mint plant isn't just about aesthetics; it's crucial for the plant's health, productivity, and even the flavor of its leaves. Let's dive into everything you need to know to keep your mint happy and thriving.
Why is Trimming Mint Plants Important?
Trimming a mint plant is far more than just a cosmetic procedure. It’s an essential practice that benefits the plant in numerous ways. Think of it like getting a haircut – it encourages new growth, keeps things tidy, and prevents problems from developing. Neglecting to trim your mint can lead to a host of issues, so let's explore why this simple task is so vital:
Preventing Overgrowth and Spreading
Mint is notoriously vigorous, to put it mildly. It spreads rapidly via underground runners, also known as rhizomes. In a garden bed, this can quickly lead to mint taking over neighboring plants. Even in a container, an untrimmed mint plant can become incredibly dense, choking out the central stems and hindering airflow. Regular trimming helps to control this aggressive growth, keeping the plant contained and preventing it from becoming an invasive nuisance. This is especially important if you're growing multiple herbs and want to maintain some semblance of order.
Encouraging Bushier Growth
When you trim a stem, you’re essentially signaling to the plant that it should focus on producing new growth from the nodes just below the cut. These nodes are where new leaves and stems will emerge. By strategically trimming back the longer stems, you encourage the plant to branch out, creating a bushier, more compact shape. This results in a plant with more leaves, which translates to a more abundant harvest for you! The increased density also makes the plant more visually appealing, creating a healthier-looking specimen overall.
Improving Airflow and Preventing Disease
A dense, overgrown mint plant creates a humid, stagnant environment that's perfect for fungal diseases like powdery mildew. Poor airflow also makes it harder for the leaves to dry after watering or rainfall, further increasing the risk of disease. Trimming helps to open up the plant, improving airflow and allowing sunlight to penetrate deeper into the foliage. This reduces humidity and creates a less hospitable environment for disease-causing pathogens. Regular trimming is a simple yet effective way to keep your mint plant healthy and disease-free.
Maintaining Flavor and Potency
Believe it or not, trimming also affects the flavor of your mint leaves. As the plant ages and becomes overgrown, the lower leaves may start to yellow and lose their flavor. New growth, on the other hand, tends to be more tender and flavorful. By regularly trimming back the plant, you encourage the production of fresh, new leaves that are packed with essential oils. This results in a more potent and aromatic mint that's perfect for culinary use. In some cases, untrimmed older growth can result in a bitter flavor, completely undesirable for consumption.
When to Start Trimming Your Mint Plant
Knowingwhento trim your mint plant is just as important as knowinghow. Here’s a general guideline:
Regular Maintenance Trimming
The best approach is to incorporate trimming into your regular gardening routine. Aim to trim your mint plant every few weeks, or whenever it starts to look overgrown. This regular maintenance will keep the plant healthy and productive throughout the growing season. A simple rule of thumb is to trim whenever the stems reach a length of about 6-8 inches. Consider it a preemptive strike against overgrowth!
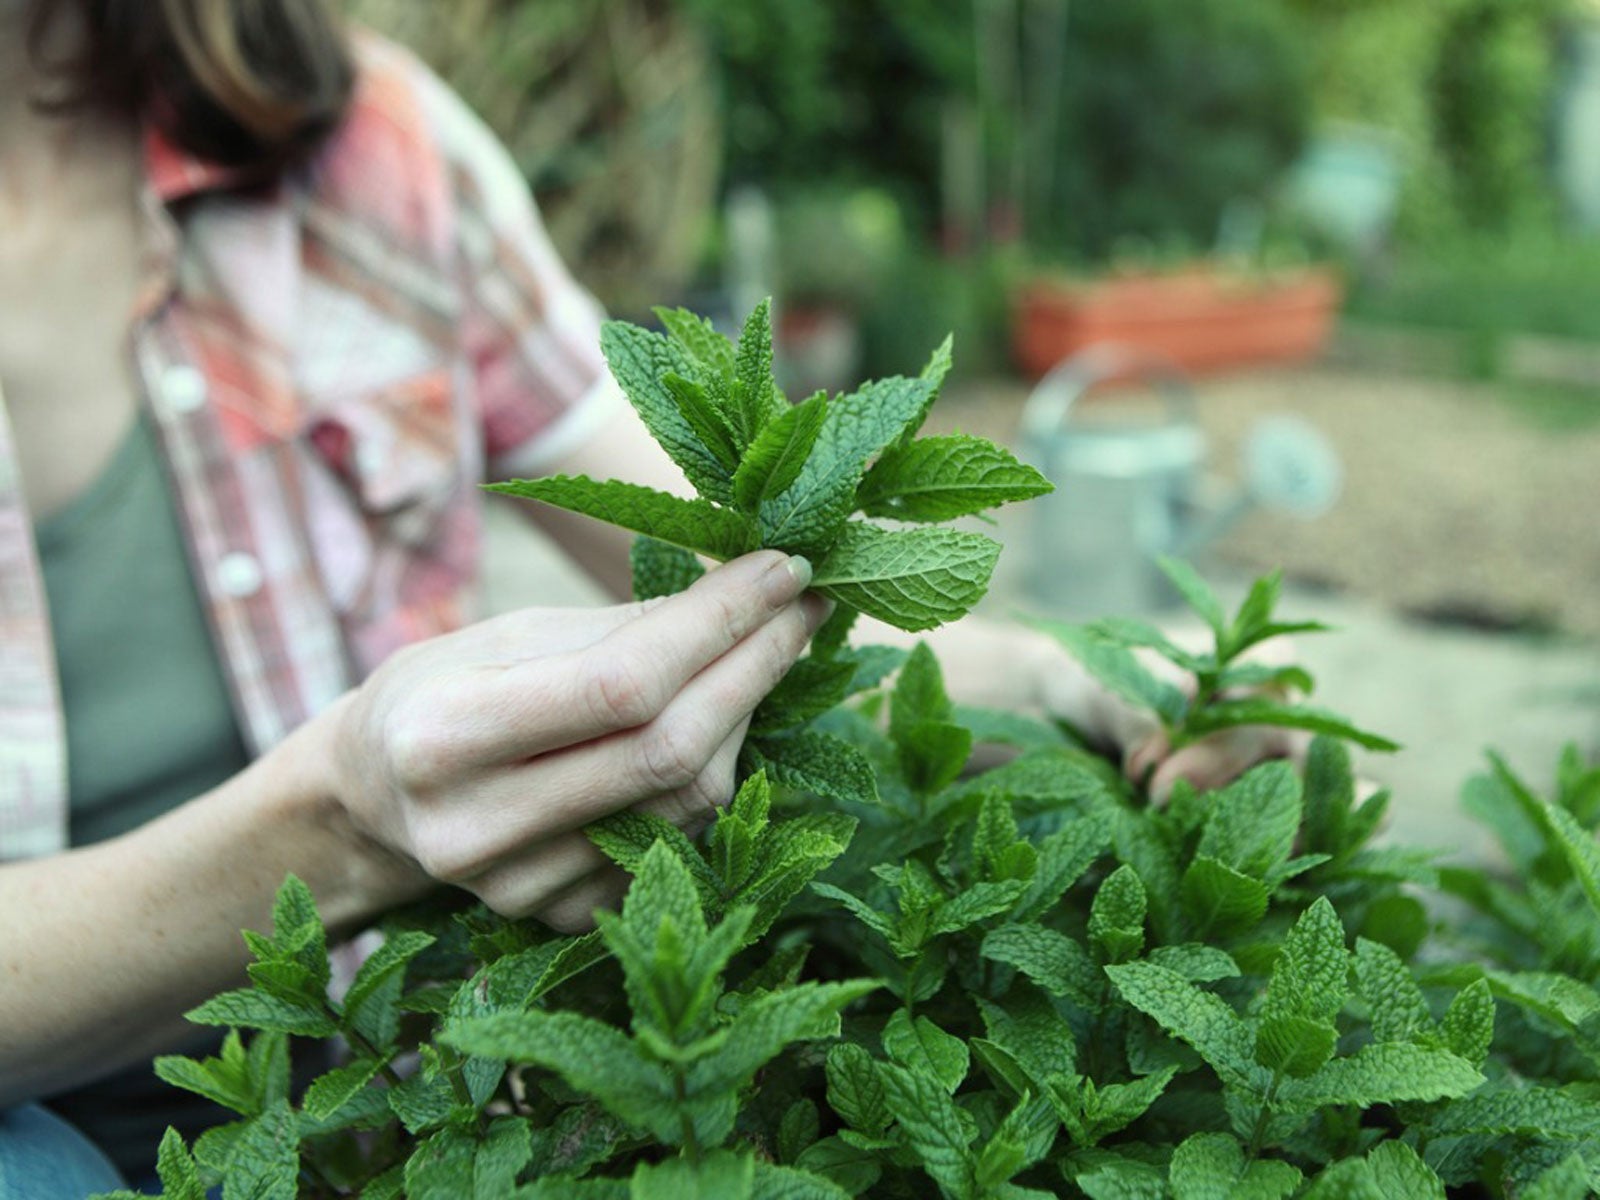
Harvesting Mint
Harvesting mint leaves is essentially a form of trimming. When you’re harvesting leaves for culinary use, aim to take them from the top of the stems. This will encourage the plant to branch out and produce more leaves, effectively combining harvesting and trimming into one task. This also ensures you are using the best part of the plant for consumption, the freshest new growth.
After Flowering
Mint plants produce flowers in mid-to-late summer. While the flowers are attractive to pollinators, they can also signal to the plant that it’s time to focus on seed production rather than leaf growth. After your mint plant flowers, it's a good idea to trim it back hard, removing the spent flower stalks. This will encourage the plant to put its energy back into producing new leaves, extending its productive season. Don't worry, mint is resilient and bounces back quickly from even a hard trim.
Seasonal Trimming
At the end of the growing season, before the first frost, give your mint plant one last trim. This will help it to conserve energy during the winter months and prepare for new growth in the spring. You can cut the plant back to just a few inches above the soil level. This will not only encourage it to concentrate energy, but also helps to keep the area tidy. Mint is quite resistant to the cold, so it will come back next year with a strong growth.
How to Trim a Mint Plant: A Step-by-Step Guide
Trimming a mint plant is a simple process, but it's important to do it correctly to avoid damaging the plant. Here's a step-by-step guide:
Gather Your Supplies
You'll need a few basic tools:
- Sharp scissors or pruning shears: Clean, sharp tools are essential for making clean cuts that heal quickly. Dull tools can crush the stems, making them more susceptible to disease.
- Gloves (optional): Some people find that mint sap can irritate their skin. Gloves can help to prevent this.
- A container or basket: To collect the trimmings.
Before you start, disinfect your pruning shears or scissors with rubbing alcohol to prevent the spread of disease. It's always better to be safe than sorry when it comes to your plants' health.
Identify the Areas to Trim
Take a close look at your mint plant and identify the areas that need trimming. Focus on:
- Overgrown stems: Stems that are too long or leggy.
- Yellowing or damaged leaves: Remove any leaves that are showing signs of disease or damage.
- Flowering stems: Cut back any stems that have flowered, unless you want to collect the seeds.
- Dense areas: Thin out any areas that are too crowded to improve airflow.
Make the Cuts
When trimming, make your cuts just above a leaf node. A leaf node is the point where a leaf or stem emerges from the main stem. Cutting above a leaf node encourages new growth from that point. Angle your cuts slightly upwards to help prevent water from pooling on the cut surface, which can lead to rot. Avoid cutting too close to the node, as this can damage it. Leave about ¼ inch of stem above the node. When harvesting leaves for culinary use, pinch off the leaves at the base of the stem. This will encourage the plant to produce more leaves in that area.
Dispose of the Trimmings
You have several options for dealing with the trimmings:
- Use them: Mint trimmings can be used fresh or dried for culinary purposes.
- Propagate them: Mint cuttings can be easily rooted in water or soil to create new plants.
- Compost them: Add the trimmings to your compost pile.
- Discard them: If the trimmings are diseased, it's best to discard them to prevent the spread of disease.
Post-Trimming Care
After trimming, water your mint plant thoroughly. This will help it to recover from the stress of being trimmed. You can also fertilize the plant with a balanced fertilizer to encourage new growth. Keep an eye on your mint plant for any signs of disease or pests, and take action promptly if you notice any problems. With proper care, your mint plant will bounce back quickly from trimming and continue to thrive.
Taking care of your garden can sometimes be tiring work, especially when constantly bending down. For a comfortable gardening experience, you might consider getting the KVR Upgraded Gardening Stool. This Thicken & Widen Soft Kneeling Pad provides a comfortable surface for your knees, and the heavy-duty foldable design makes it easy to move around your garden. Plus, the two included tool pouches keep your essential gardening tools within easy reach. You can find this fantastic gardening aid on Amazon at this link: https://amzn.to/4mhl Mx I
Tips for Successful Mint Plant Trimming
Here are a few extra tips to help you master the art of trimming mint plants:
Don't Be Afraid to Be Aggressive
Mint is a resilient plant, so don't be afraid to trim it back hard if necessary. In fact, sometimes a hard trim is exactly what it needs to rejuvenate it and encourage new growth. You can cut the plant back by as much as two-thirds without harming it. Just be sure to leave at least a few leaves on each stem so that the plant can still photosynthesize.
Consider the Variety
Different varieties of mint may have slightly different growth habits. Some varieties, like spearmint, tend to be more vigorous than others, like peppermint. Adjust your trimming schedule accordingly. Keep an eye on your plant and adjust based on the characteristics of its variety. For instance, apple mint may need more aggressive trimming to maintain shape.
Pay Attention to Light
Mint plants need at least 6 hours of sunlight per day. If your mint plant isn't getting enough light, it may become leggy and etiolated. Move it to a sunnier location or supplement with artificial light. Getting enough sunlight is important for all kinds of plants, and is an important element for them to thrive.
Water and Fertilize Regularly
Mint plants need consistent moisture and nutrients to thrive. Water your mint plant whenever the soil feels dry to the touch. Fertilize it every few weeks with a balanced fertilizer. A well-fed and well-watered mint plant will be more resilient and will respond better to trimming. If you are using a container, the fertilizer will be even more important.
Troubleshooting Common Mint Plant Problems
Even with proper trimming, your mint plant may still encounter some problems. Here are a few common issues and how to address them:
Powdery Mildew
Powdery mildew is a fungal disease that causes a white, powdery coating on the leaves. To prevent powdery mildew, improve airflow around the plant by trimming it regularly. You can also treat powdery mildew with a fungicide. Make sure the fungicide is plant-safe and mint friendly before you spray it on your plants.
Spider Mites
Spider mites are tiny pests that suck the sap from leaves, causing them to become speckled and yellow. To get rid of spider mites, spray the plant with a strong stream of water. You can also use insecticidal soap or neem oil. The key is to find the issues as quickly as possible to remediate them.
Rust
Mint rust is a fungal disease that causes orange or brown pustules on the undersides of the leaves. To prevent mint rust, avoid overhead watering and improve airflow around the plant. Remove any infected leaves and discard them. If the problem is severe, you may need to treat the plant with a fungicide. Rust is quite unsightly, but is preventable.
Trimming Mint Plants FAQ
Still have questions? Here are some frequently asked questions about trimming mint plants:
Can I trim my mint plant too much?
Yes, it's possible to trim your mint plant too much. However, mint is very resilient, so it's unlikely that you'll kill it by trimming it too hard. Just be sure to leave at least a few leaves on each stem so that the plant can still photosynthesize. If you are concerned about it, take it easy in the beginning.
How often should I trim my mint plant?
Aim to trim your mint plant every few weeks, or whenever it starts to look overgrown. The trimming frequency depends on the kind of mint that it is. Some are much more vigorous than others.
Can I propagate mint from cuttings?
Yes, mint is very easy to propagate from cuttings. Simply take a cutting that is 4-6 inches long and remove the lower leaves. Place the cutting in a glass of water or directly in soil. The cutting should root within a few weeks. Propagating mint can be a great way to start new plants and multiply your harvest.
So there you have it! Trimming a mint plant is a simple yet essential task that will keep your plant healthy, productive, and flavorful. By following these tips and guidelines, you can enjoy a bountiful harvest of fresh mint all season long. Happy gardening!