Seeing your vibrant, fragrant mint plant start to turn brown can be a real heartbreaker. It's like watching a friend lose their spark! But don't despair just yet. Browning leaves on mint plants are a common problem, and often, the cause is easily identifiable and correctable. Let's dive into the reasonswhy your mint plant might be turning brownand how you can bring it back to its lush, green glory. Why is My Mint Plant Turning Brown? Common Causes The mystery of the browning mint can often be solved by playing detective in your garden. There are several common culprits that contribute to this unfortunate situation. Understanding these potential causes is the first step towards restoring your mint plant's health. Think of it as a process of elimination - checking off the possible suspects one by one. Watering Issues: Too Much or Too Little Watering problems are probably the most frequent cause of brown leaves on mint. Mint plants are fairly ...
Mint! Just the word conjures up images of refreshing mojitos, fragrant teas, and that unmistakable cool sensation. Imagine growing your own supply of this versatile herb, ready to be plucked whenever your culinary or beverage creativity strikes. While many propagate mint from cuttings, starting from seed opens up a world of variety and a deeper connection to the plant's life cycle. Yes, it can be a bit more challenging, but the reward of nurturing a mint plant from its very beginning is well worth the effort. Let's dive into the wonderful world of planting mint from seeds!
Understanding Mint and Its Varieties When Planting Mint From Seed
Mint, belonging to the Menthagenus, is a perennial herb known for its aromatic leaves and vigorous growth. There are numerous varieties, each boasting its unique flavor profile and characteristics. Before embarking on your seed-starting journey, familiarize yourself with the different types to choose one that aligns with your taste and gardening goals.
Popular Mint Varieties for Seed Planting
- Peppermint (Mentha x piperita): A classic choice with a strong, cooling flavor, perfect for teas, candies, and desserts.
- Spearmint (Mentha spicata): Milder and sweeter than peppermint, ideal for mojitos, sauces, and savory dishes.
- Chocolate Mint (Mentha x piperita 'Chocolate'): A delightful hybrid with a hint of chocolate aroma and flavor, excellent for adding a unique twist to desserts and beverages.
- Orange Mint (Mentha aquatica): Offers a citrusy aroma and flavor, adding a bright note to salads, drinks, and savory dishes.
- Apple Mint (Mentha suaveolens): Mild and fruity, perfect for teas, salads, and garnishes.
Knowing the specific variety you're planting is crucial. Some mints are more aggressive growers than others, so selecting a variety that suits your garden space and preferred level of maintenance is key. Also, understand that growing mint from seed doesn't always guarantee the same flavor profile as the parent plant, especially with hybrid varieties. Cross-pollination can lead to variations in taste and aroma.
Gathering Your Supplies for Planting Mint From Seeds
Successfully planting mint from seeds requires the right tools and materials. Having everything prepared beforehand will streamline the process and increase your chances of success.
Essential Supplies List
- Mint Seeds: Purchase high-quality seeds from a reputable supplier. Check the expiration date to ensure viability.
- Seed Starting Trays or Pots: Choose containers with good drainage. Peat pots, plastic trays, or even repurposed containers work well.
- Seed Starting Mix: A lightweight, sterile mix specifically designed for seedlings is crucial. Avoid using garden soil, as it can be too heavy and harbor pathogens.
- Spray Bottle: For gently watering the seeds without disturbing them.
- Heat Mat (Optional): Provides bottom heat to promote germination, especially in cooler climates.
- Grow Lights (Optional): Supplement natural light, particularly during the shorter days of winter or early spring.
- Humidity Dome (Optional): Helps maintain consistent moisture levels.
- Small Labels: To identify the different mint varieties you're planting.
When choosing your seed starting mix, look for a blend that is well-draining and contains ingredients like peat moss, vermiculite, and perlite. These materials help retain moisture while providing adequate aeration for the developing roots. Consider investing in a good quality heat mat if you live in a colder climate. Mint seeds, like many other herbs, germinate best with slightly warmer soil temperatures.
The Step-by-Step Guide to Planting Mint Seeds
Now comes the exciting part – actually planting the mint seeds! Follow these steps carefully to ensure successful germination and healthy seedling development.
Planting Mint Seeds: A Detailed Process
- Prepare the Seed Starting Mix: Moisten the seed starting mix with water until it is damp but not soggy.
- Fill the Containers: Fill the seed starting trays or pots with the moistened mix, leaving about half an inch of space at the top.
- Sow the Seeds: Mint seeds are tiny, so sow them very thinly on the surface of the soil. Avoid overcrowding the seeds, as this can lead to competition for resources.
- Lightly Cover the Seeds: Gently press the seeds into the soil surface. Mint seeds require light to germinate, so only cover them with a very thin layer of soil or vermiculite.
- Water Gently: Use a spray bottle to mist the surface of the soil. Avoid pouring water directly onto the seeds, as this can dislodge them.
- Create a Humid Environment: Cover the seed starting trays or pots with a humidity dome or plastic wrap to maintain consistent moisture levels.
- Provide Warmth and Light: Place the containers in a warm location, ideally between 70-75°F (21-24°C). If using a heat mat, ensure it is set to the appropriate temperature. Provide adequate light, either natural or artificial.
- Monitor Moisture Levels: Check the soil moisture levels daily and mist with water as needed to keep the soil consistently damp but not soggy.
- Remove the Humidity Dome: Once the seeds germinate (typically within 10-14 days), remove the humidity dome to improve air circulation and prevent fungal diseases.
Remember that patience is key! Mint seeds can take a bit longer to germinate compared to some other herbs. Don't be discouraged if you don't see sprouts immediately. Continue to provide warmth, light, and moisture, and you'll be rewarded with tiny green seedlings in due time.
Caring for Your Mint Seedlings
Once your mint seeds have germinated and the seedlings have emerged, it's crucial to provide them with the proper care to ensure they grow into healthy, robust plants.
Essential Care Tips for Mint Seedlings
- Light: Provide ample light. If using grow lights, position them a few inches above the seedlings. As the seedlings grow, you may need to adjust the height of the lights to prevent them from becoming leggy.
- Watering: Water regularly to keep the soil consistently moist but not soggy. Allow the top inch of soil to dry out slightly between waterings.
- Fertilizing: Once the seedlings have developed their first set of true leaves, begin feeding them with a diluted liquid fertilizer specifically formulated for seedlings. Follow the instructions on the fertilizer package.
- Thinning: If you sowed the seeds densely, thin the seedlings to provide them with adequate space to grow. Snip off the weaker seedlings at the soil line, leaving the strongest ones to thrive.
- Hardening Off: Before transplanting the seedlings outdoors, gradually acclimate them to the outdoor environment through a process called hardening off. This involves exposing them to increasing amounts of sunlight, wind, and temperature fluctuations over a period of 7-10 days.
Hardening off is a critical step in preparing your mint seedlings for the transition to the garden. This process helps them develop a thicker cuticle on their leaves and stronger stems, making them more resistant to the harsh conditions of the outdoors. Start by placing the seedlings in a sheltered location outdoors for just an hour or two each day, gradually increasing the amount of time they spend outside. Be sure to protect them from frost and extreme temperatures during this process.
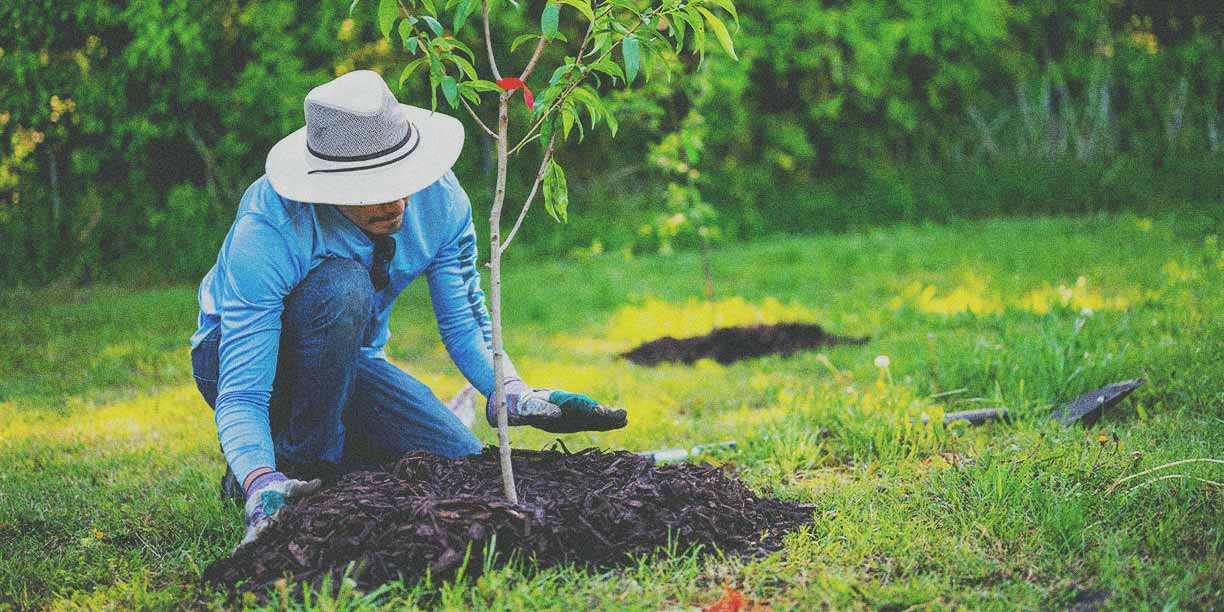
Transplanting Mint Seedlings to the Garden
After the seedlings have been hardened off and the danger of frost has passed, it's time to transplant them to their permanent home in the garden or into larger containers.
Transplanting Tips for Success
- Choose a Location: Mint thrives in moist, well-drained soil and partial shade. However, it can tolerate full sun, especially in cooler climates.
- Prepare the Soil: Amend the soil with compost or other organic matter to improve drainage and fertility.
- Dig Holes: Dig holes that are slightly larger than the root balls of the seedlings.
- Gently Remove Seedlings: Carefully remove the seedlings from their containers, being careful not to damage the roots.
- Plant the Seedlings: Place the seedlings in the holes and gently backfill with soil.
- Water Thoroughly: Water the seedlings thoroughly after transplanting.
- Mulch: Apply a layer of mulch around the plants to help retain moisture and suppress weeds.
Given mint's aggressive growth habit, many gardeners choose to grow it in containers to prevent it from spreading uncontrollably throughout the garden. If you opt for container gardening, select a large pot with good drainage and use a high-quality potting mix. Remember to water the plants regularly, especially during hot, dry weather.
Gardening can be tough on the knees and back! Make it easier on yourself with theKVR Upgraded Garden Kneeler and Seat which features a thick, soft kneeling pad and can even be used as a stool. This heavy duty foldable gardener stool with two tool pouches is a great addition for any gardener. Get yours today! Check it out on Amazon!
Harvesting and Using Your Homegrown Mint
Once your mint plants are established, you can begin harvesting the leaves for culinary and medicinal uses. Here’s how to get the most out of your homegrown mint.
Harvesting Techniques and Usage Ideas
- Harvesting: Harvest mint leaves as needed throughout the growing season. Simply snip off the stems just above a leaf node. Regular harvesting encourages bushier growth.
- Drying: To dry mint leaves, hang them upside down in a cool, dark, and well-ventilated place. Once the leaves are completely dry, store them in an airtight container.
- Culinary Uses: Fresh mint leaves can be used to flavor a wide variety of dishes, including salads, sauces, desserts, and beverages. Dried mint leaves can be used in teas, spice blends, and potpourri.
- Medicinal Uses: Mint has a long history of medicinal use. It is often used to soothe digestive upset, relieve headaches, and freshen breath. Mint tea can also be used to help with congestion.
Experiment with different ways to use your homegrown mint! Add it to smoothies for a refreshing boost, infuse it into water for a flavorful and hydrating drink, or use it to create homemade mint extract. The possibilities are endless! With a little care and attention, you can enjoy a bountiful harvest of fresh, flavorful mint for years to come.